A Step-by-Step Guide to Ready Your Space
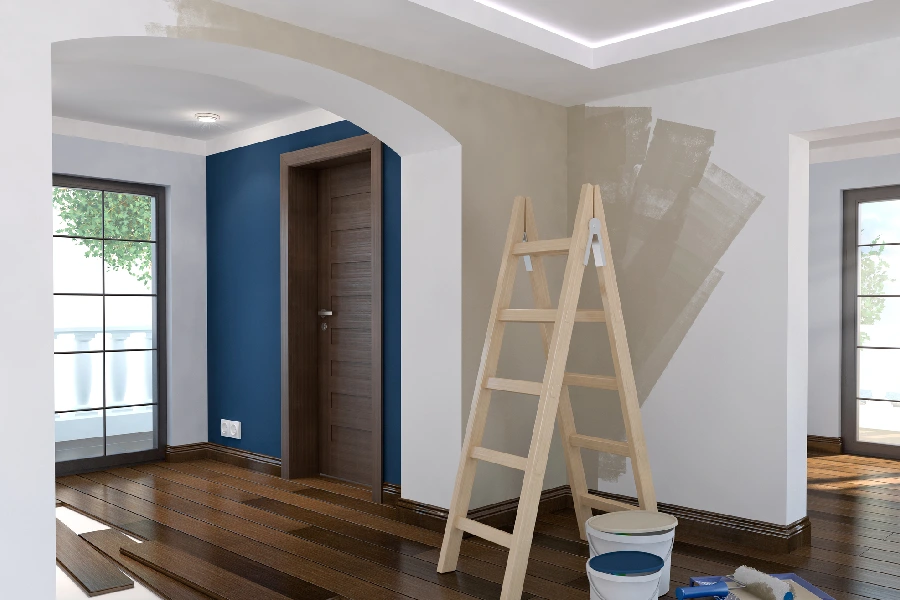
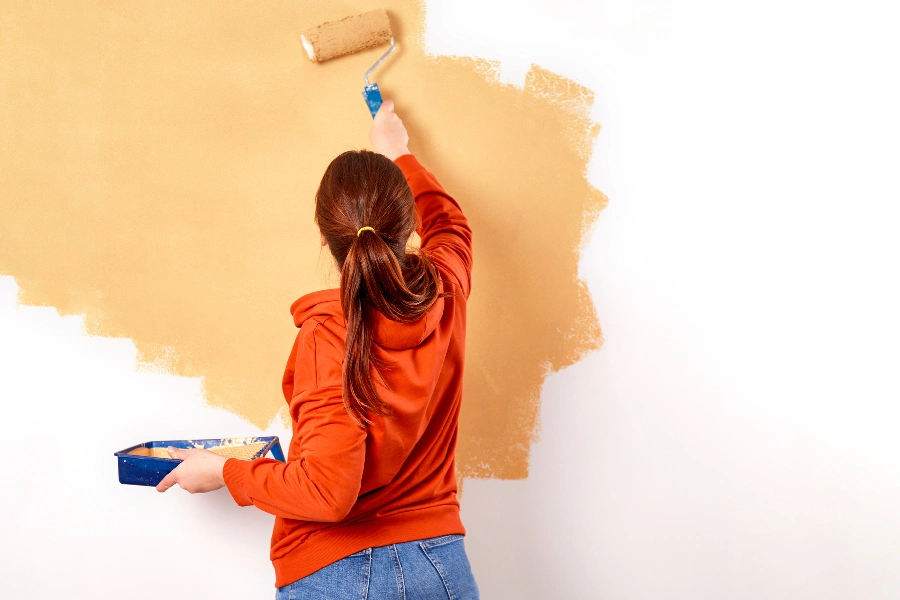
Getting your room ready for a fresh coat of paint can make a big difference in the final outcome. Preparing the space not only protects your belongings but also ensures a smooth painting process. By taking the right steps, you can avoid common pitfalls and achieve a professional-looking finish. Whether you’re tackling this project yourself or hiring professionals, knowing how to prepare will save time and effort.

Clear the Room of Furniture and Decorations
Before starting any interior painting project, it’s crucial to remove all furniture and decorations. This step provides a clear workspace and prevents accidental paint splashes on your items. If moving everything out isn’t possible, gather remaining pieces in the center of the room and cover them with a plastic sheet or drop cloth. Ensure that wall decorations like paintings, shelves, and clocks are removed to create an unobstructed surface for painting.
Protect Your Floors and Fixtures
Protecting your floors is essential during interior painting. Use painter’s tape along the edges to safeguard skirting boards, door frames, and window sills. For flooring, use drop cloths or old sheets to cover the entire area. Secure these covers with tape if necessary. Additionally, remove or wrap light fixtures and ceiling fans with plastic bags to prevent paint drips from reaching them.

Clean the Walls Thoroughly
Cleaning the walls is a vital preparation step before interior painting begins. Dust, grease, and dirt can prevent paint from adhering properly. Use a mild detergent mixed with water to wipe down the walls with a sponge. Pay special attention to areas around switches and outlets where grime tends to accumulate. Allow the walls to dry completely before proceeding.
Repair Wall Imperfections
Inspect the walls for any cracks, holes, or peeling paint. These imperfections need to be fixed for a smooth finish. Fill small holes and cracks with spackle using a putty knife. For larger repairs, consider joint compound. Once patched, sand the repaired areas until they are smooth and flush with the wall surface.
Apply Painter’s Tape for Clean Edges
Painter’s tape is an invaluable tool for achieving crisp lines during painting projects. Apply it carefully along edges where different colors will meet, such as between walls and ceilings or around trim work. Press down firmly on the edges of the tape to prevent paint bleed-through. This step ensures tidy edges once the job is complete.
- Start by taping all corners and edges.
- Work methodically from one side of the room to the other.
- Use long strips of tape for consistent coverage.
Prime Your Walls If Necessary
If your walls have been painted previously with dark colors or there are significant repairs, applying a primer can enhance color accuracy and coverage. Primers create a uniform surface, reducing the number of paint coats needed. Choose a primer that suits your wall type and follow the manufacturer’s instructions for application and drying times.
Call Us for Professional Assistance
Ready to start your painting journey? Call (781) 240-3360 to speak with our experts at Escobar Painting. We ensure quality results tailored to your needs. Located in Revere, MA, our team is dedicated to delivering exceptional service for every project.
