Tips for Preparing Cabinets Before a Fresh Coat of Paint
The Essentials of Getting Cabinets Ready for Painting
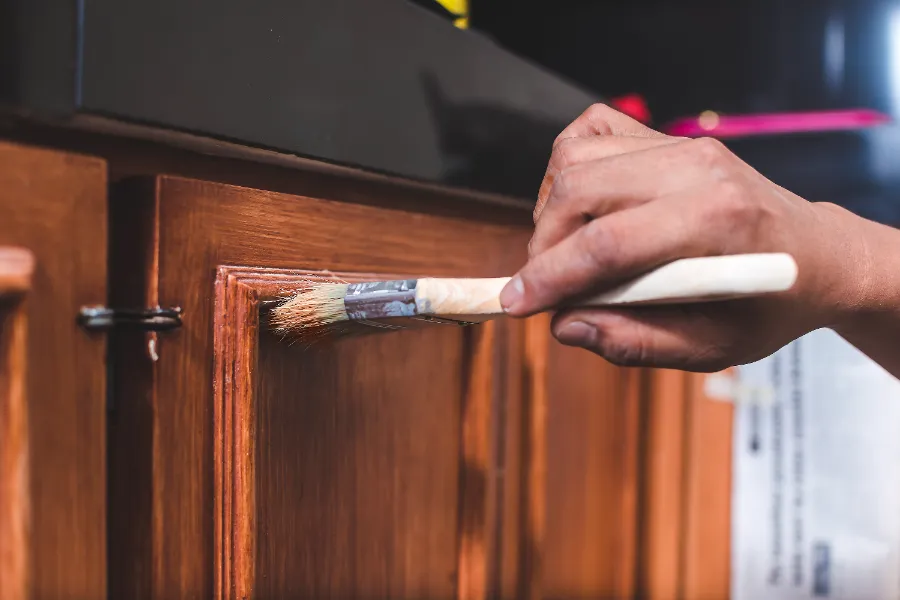
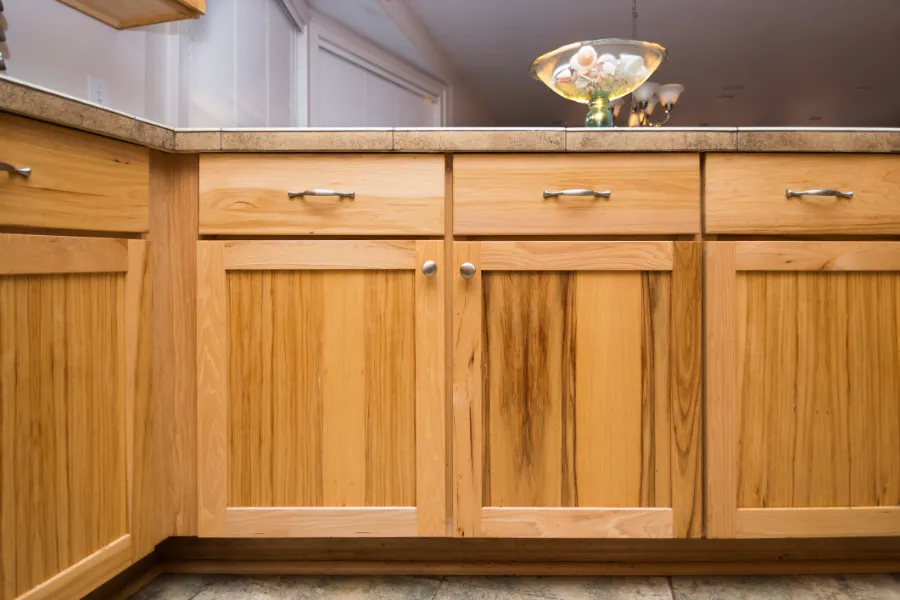
Getting ready to paint your cabinets can be an exciting project. A fresh coat of paint can transform the look of your kitchen or bathroom. However, proper preparation is key to achieving the best results. This guide will walk you through essential steps to prepare your cabinets before painting. Whether you’re looking to tackle this as a DIY project or hire professionals, ensuring that your cabinets are ready is crucial for a flawless finish.

Gathering the Right Tools and Materials
Before starting the process, it’s important to have all necessary tools and materials on hand. You’ll need screwdrivers to remove cabinet doors and hardware, sandpaper for smoothing surfaces, and a gentle cleaner for cleaning grime and grease. It’s also wise to invest in painter’s tape, drop cloths, and quality brushes or rollers. These items help ensure that your paint job looks professional.
Removing Cabinet Doors and Hardware
The first step in preparing your cabinets is to take off the doors and hardware. This allows you to work more easily and ensures a smoother finish. Store screws and hinges safely so they don’t get lost. Once the doors are removed, label them and their corresponding hardware. This small step will save time when reassembling later.

Cleaning Surfaces Thoroughly
Thorough cleaning is crucial because dirt and grease can prevent paint from adhering properly. Use a gentle cleaner to wipe down all surfaces, including the doors and frames. Pay special attention to areas around handles where grime builds up. After cleaning, let everything dry completely before moving on to sanding.
Sanding for a Smooth Finish
Sanding is an essential part of getting your cabinets ready for a new coat of paint. Use fine-grit sandpaper to gently smooth out any rough spots or old finishes. Sanding helps the primer and paint adhere better, giving you a longer-lasting result. Don’t rush this step; take your time to ensure all surfaces are even.
Applying Primer for Better Adhesion
Once your cabinets are clean and sanded, apply a primer. Primer creates a uniform surface and helps paint stick better, especially if you’re covering dark colors with lighter ones. Be sure to choose a primer that’s compatible with your chosen paint type. Apply it evenly with a brush or roller and let it dry thoroughly before painting.
Final Checks Before Painting Begins
Before you start the actual painting, do a final check of all surfaces. Make sure there are no dust particles or debris left on the cabinets. Use painter’s tape to protect areas where you don’t want paint spills. Set up your workspace with plenty of ventilation to ensure safety during painting.
Expert Tips for Successful Cabinet Preparation
Following these expert tips can make a big difference in how your cabinet painting project turns out:
- Work in a well-ventilated area to avoid inhaling fumes
- Use high-quality paint for durable results
- Apply thin coats of paint for a smoother finish
- Allow sufficient drying time between coats
- Reattach doors and hardware only after the paint is fully cured
Your Next Steps With Professional Help
If preparing your cabinets feels overwhelming, consider hiring experts for the job. Professional services ensure high-quality results without the hassle. At Escobar Painting, our skilled team specializes in transforming spaces efficiently. Contact us at (781) 240-3360 for personalized guidance suited to your needs. Based in Revere, MA, we provide top-notch service tailored to meet your expectations.
